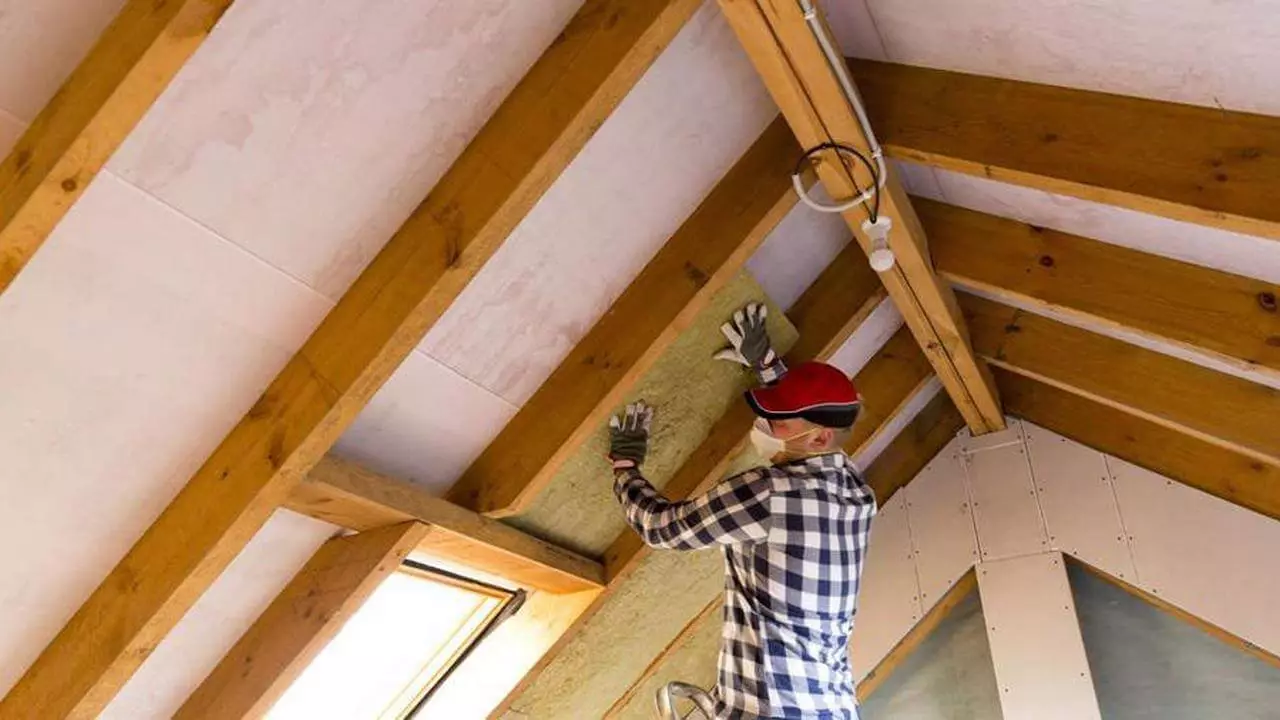
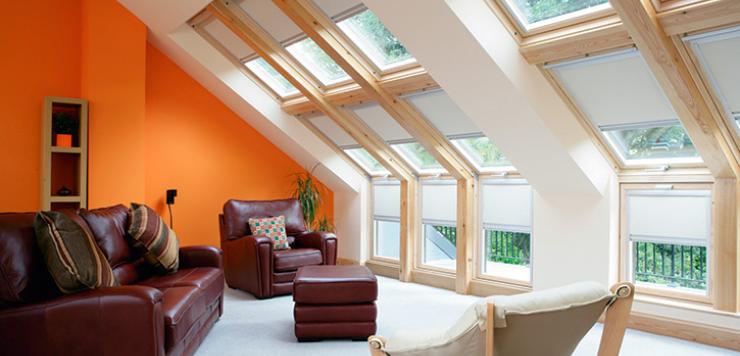
If you’ve ever visited or lived in an A-frame cabin, or a house with an open ceiling rather than an attic, you’re familiar with the sight of those triangular wooden beams looming over you. Most are familiar with the word “rafters,” but the proper term for the full structure is trusses.
Trusses are a critical component to the structure of most homes with an angled roof. Although they’re quite large, the construction process is fairly simple. There are several variations, the most common of which will be reviewed here.
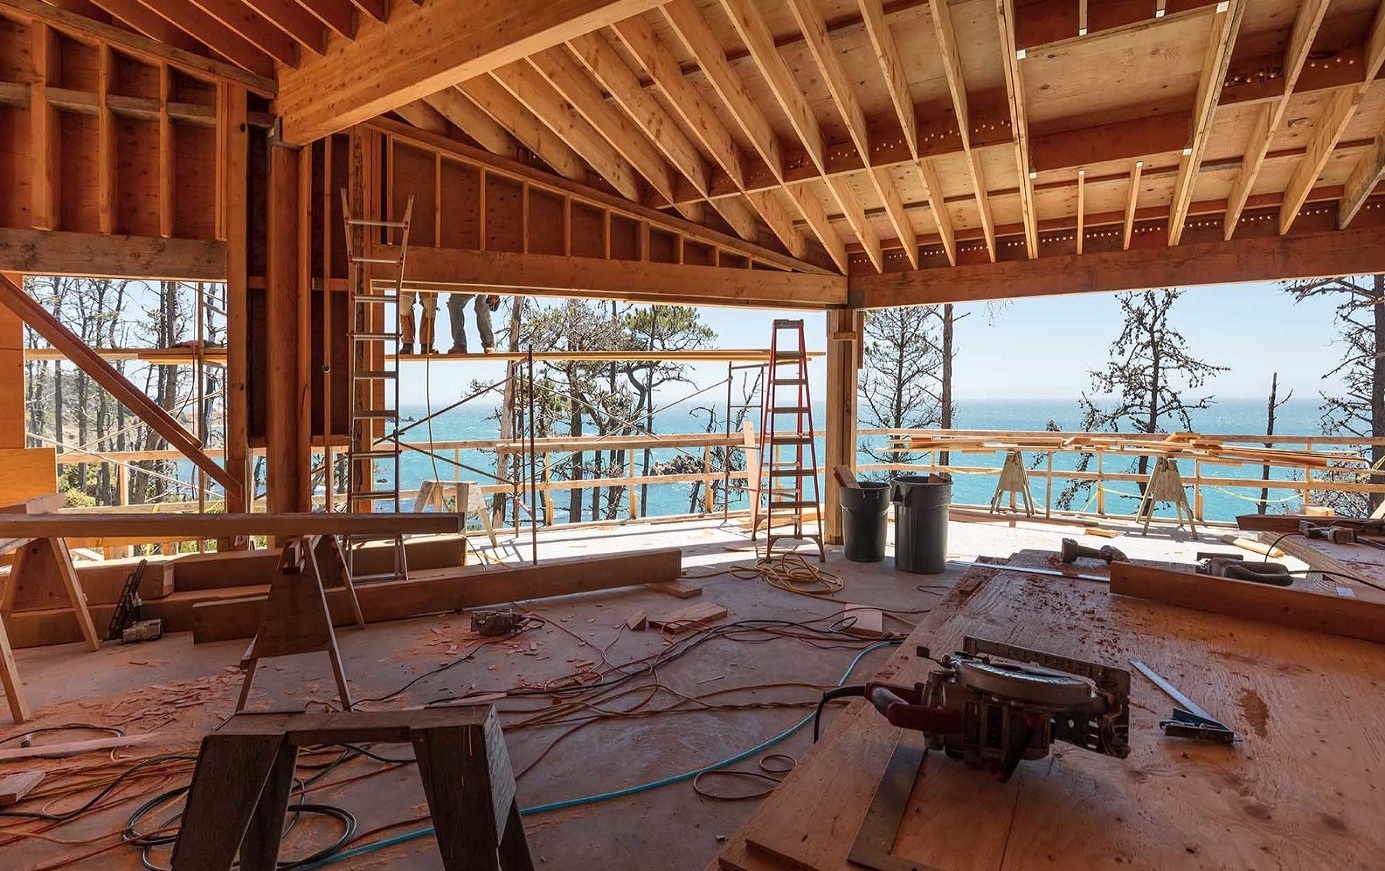
First, an overview is provided of the material needed, as well as the steps taken to build them.
Building Materials
- Wooden chords– These are the large lengths of timber to be used to construct the trusses.
- Rigid structural screws- Longer, sturdier, and more heat resistant than traditional “lags,” these are the main tools you will use to connect the chords.
- Metal gussets– These are metal pieces you will affix to the corners, once you’ve connected the chords.
- Connector plates– These are flat metal plates that reinforce the connecting chords at the sides rather than the corners.
- Wood glue– This provides additional reinforcement along the adjacent edges.
- Timber saw– This will be used to cut the chords.
- Leveler– This instrument is utilized to ensure even measurements and cutting.
- 18 volt drill– This is the strength of drill you will need to insert the screws.
- A safe and even cutting surface that is large enough to accommodate the chords.
- Machinery sufficient to lift completed trusses- This typically includes a crane-like lifting device with appropriate attachments.
- Safety gear– This is essential to any sort of labor involving heavy materials, power tools, and sharp machinery. Be sure you have sturdy gloves, solid boots, and safety goggles at your disposal before you begin. If you will also be hoisting the truss onto the building’s frame, you will also need a hardhat.
Additional Terms
- Tie beam– A.K.A. “rafter tie.” This is the bottom horizontal chord of wood that creates the base of the truss, or the “floor” of the triangle.
- Rafter– These are the diagonal lengths of chord that reach upward from the tie beam to create a point, closing the triangle.
- Collar beam– In some trusses, an inner horizontal beam is added, closer to the top corner of the triangle. If present, this is called the collar beam.
- Struts– These are smaller posts, either vertical or diagonal, that are added to some truss designs for additional support.
- Frame– This refers to beams and posts that are part of the building’s overall structure but not a part of the truss’s structure.
- Toe screw– A.K.A. “toenailing.” This is when long screws are drilled at an angle into adjacent lengths of wood.
Construction Process
- Choose your design. This is fully contingent upon the overall construction of the building you’re erecting. Certain styles work better with broader buildings, and there is more information on that below. Either way, you will need a professional to help you identify appropriate measurements and sizes- either an architect, and engineer, or both.
- Obtain your materials. Once you’ve determined exactly what you need and how much, you can order chords of wood- as well as all other materials- from your local home improvement store or a construction warehouse.
- Prepare your timber. Even if they’re approximately the right lengths, your chords will still need to be custom cut to appropriate measurements, as well as angled for exact fitting. Be sure you’ve set up a safe and level cutting surface to accommodate this task.
- Connect your tie beam and rafters with structural screws, using a 45* angle for drilling. The screws should be placed about 6” away from where the chords meet. Laying a spare screw atop the beam will help guide your angle as you drill.
- Apply wood glue to all connecting wooden edges.
- Apply gussets to outer corners for reinforcement.
- Apply connector plates to the sides, where the wood overlaps, for additional support.
- Lift trusses onto building frame, utilizing available assistance, effective safety gear, and appropriate machinery. Trusses are typically fastened at 2-3 evenly spaced points, to avoid bowing or fracturing from uneven distribution of weight and pressure.*
*If you are taking the DIY project this far, you will want to take additional safety measures, to include: calling in support from trusted friends/workers, surveying your terrain for nearby trees and powerlines, and establishing an emergency action plan in the event of an accident.
Truss Designs
- Common Truss– This is a basic triangle, built from the tie beam and rafter, which connects to the posts of the building’s frame.
- Queen Post Truss– This is when vertical struts are added at the bottom corners of the triangle, as well as diagonal struts connecting the tie beam to the posts of the frame.
- King Post Truss– This includes an additional vertical post, connecting the top corner of the rafters to the center of the tie beam, as well as 2 struts reaching outward diagonally from the base of the post to the midpoint (or thereabouts) of the rafters. It also includes the diagonal struts connecting the tie beam to the frame, as in the queen post design.
- Hammerbeam Truss– This structure is used for wider buildings, as it includes only a partial tie beam, with a collar beam higher up. Vertical posts connect the three, splitting the overall truss into three triangles- one at each corner.
- Scissor Truss– This is when the tie beam is fully replaced by two long struts that reach upward from the bottom of each rafter, crossing each other midway through. There is sometimes an additional vertical strut connecting them at the cross.
Final Considerations
There are many variations of the truss styles described here, as well as a few that are entirely different. While this project is not complicated, it does require a decent amount of research and planning beforehand.
Prior to choosing your materials, you want to discuss a few important factors with your architect and/or engineer. These include: size and overall style of the building, function and aesthetics of the design you prefer, and both the labor and supply costs required to complete the project.

Christine Kelley is a dedicated home blogger who has been blogging for over six years. She covers everything home related. Christine also loves writing posts about her travels to Europe with her husband and two children.

